

Of every room in a home, the kitchen is usually the one that takes the longest to pack and causes the most anxiety once the boxes are loaded. Dishes, glassware, small appliances, and pantry items all pack differently, and a kitchen box thrown together without a plan is one of the more common sources of moving-day breakage. Households working with a local moving company in Virginia often ask the crew for packing tips before move day, since a properly packed kitchen box makes the difference between unpacking clean dishes and unpacking shards wrapped in newspaper.
There’s a reason kitchens get singled out. Under federal moving regulations, movers are required to accept damage claims for up to nine months after delivery, and glassware, dishware, and small electronics are consistently among the items that generate those claims. None of that is meant to be alarming — it’s simply a reminder that a little extra care during packing pays off later. The steps below walk through a kitchen packing process that professional crews use every day, adapted for anyone packing their own boxes.
Why the Kitchen Takes Longer Than Any Other Room
A typical kitchen holds more individually fragile items packed into a smaller footprint than almost any other room in the house. Dishes, glasses, and small appliances all need different wrapping approaches, and pantry items add weight and spill risk that bedrooms and living rooms simply don’t have. Most experienced packers plan for the kitchen to take at least a full day on its own, longer for a household that cooks often and owns a lot of specialty cookware.
Recommended Packing Materials by Item Type
| Item Type | Best Box or Material | Notes |
|---|---|---|
| Plates and flat dishes | Small or medium box, dish-pack cell dividers | Pack vertically, like records, never stacked flat |
| Glasses and stemware | Small box with cell dividers or individual sleeves | Wrap each piece individually, stuff hollow spaces |
| Pots, pans, and bakeware | Medium to large box | Nest smaller pieces inside larger ones with padding |
| Small appliances | Original box if available, otherwise medium box | Remove detachable parts and wrap separately |
| Knives and sharp utensils | Small box or knife roll | Wrap blades individually, tape edges, label clearly |
Step 1: Sort and Declutter Before Packing Anything
Packing goes faster and safer when the kitchen is edited down first. Expired pantry items, duplicate gadgets, and cookware that hasn’t been used in over a year are worth donating or discarding rather than paying to move. This step also reduces the total box count, which matters for both residential movers in Virginia estimating a truck size and for anyone driving a rental truck who wants to avoid an unnecessary second trip.
Step 2: Gather the Right Supplies Before Starting
- Small and medium boxes (avoid large boxes for dishes and cookware — weight adds up fast)
- Packing paper or newsprint for wrapping individual items
- Bubble wrap for glassware, stemware, and anything with a stem or handle
- Dish-pack cell dividers for plates and bowls
- Packing tape and a tape gun
- Permanent marker for labeling
Skipping straight to packing without gathering these first is one of the most common reasons kitchen boxes end up under-padded. A rushed box packed with whatever paper is on hand rarely holds up as well as one packed with the right materials from the start.
Step 3: Pack Dishes and Glassware Vertically
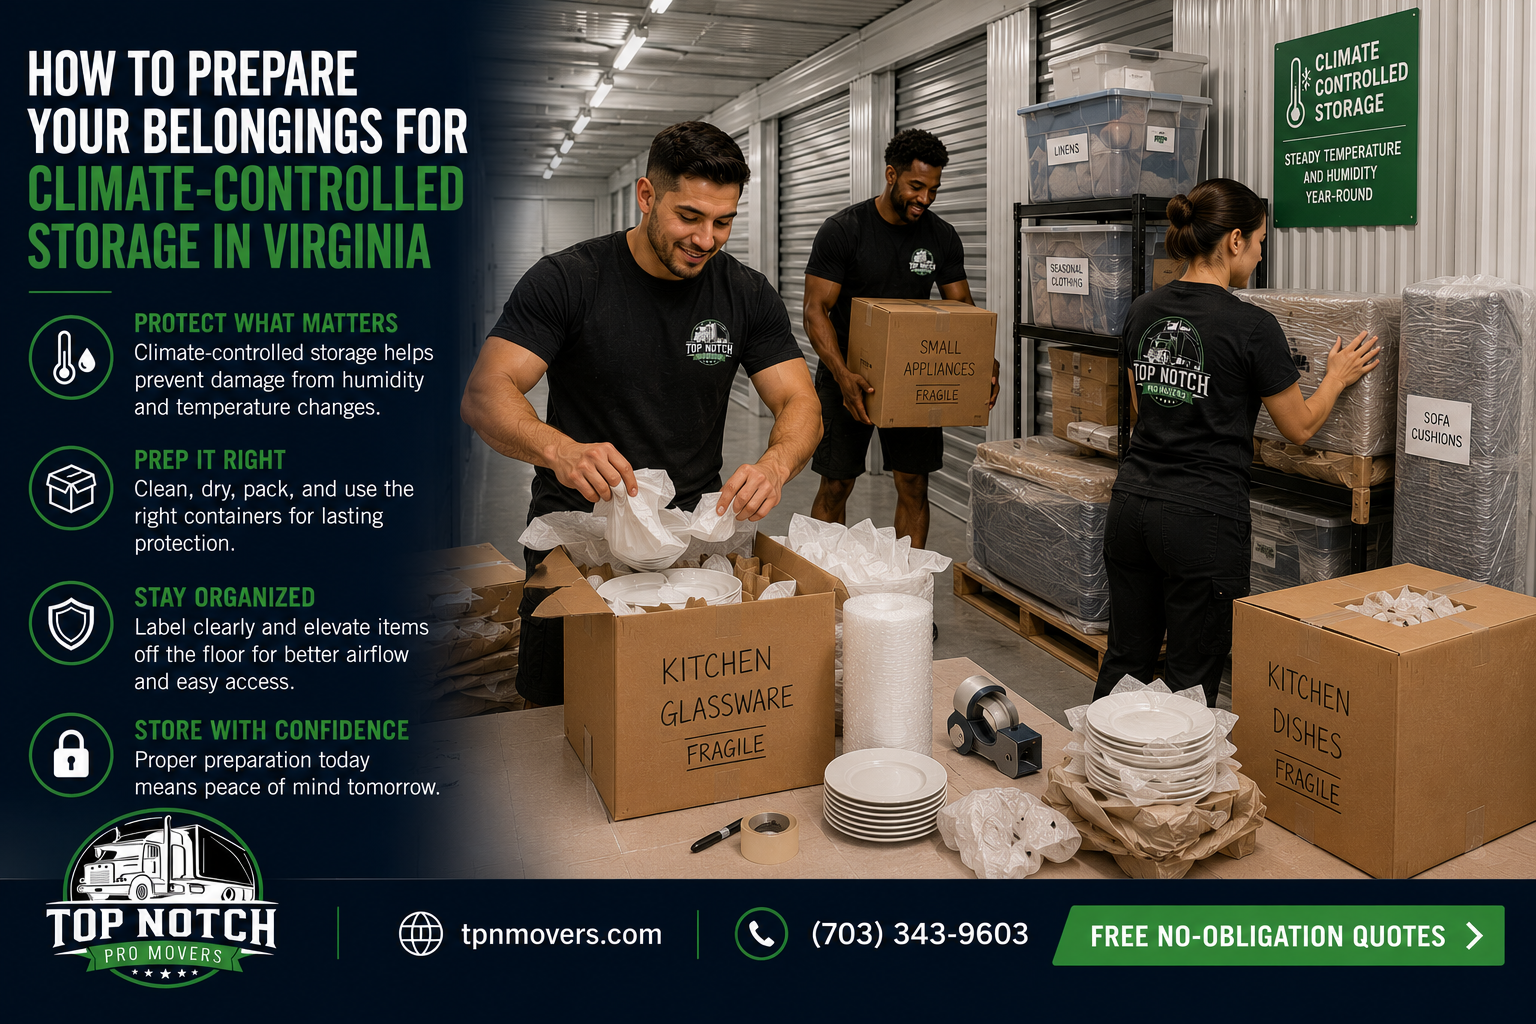
Plates and flat dishes should be wrapped individually in packing paper and stood on their edge inside the box, the same way records are stored, rather than stacked flat. Dishes packed on their edge distribute impact across the rim instead of the center of the plate, which is where most breaks happen when a stack of flat plates gets jostled. Glasses and stemware should be wrapped individually, with extra paper stuffed into any hollow stems or handles before the piece goes into a cell divider.
Step 4: Cushion Every Box Top, Bottom, and Sides
A layer of crumpled paper at the bottom of the box, another layer between each wrapped item, and a final layer on top before closing the lid gives fragile items room to absorb shock rather than transferring it directly to the item next to it. Boxes should be full enough that nothing shifts when the box is gently shaken, but not so overpacked that the lid has to be forced closed.
Step 5: Handle Small Appliances Separately
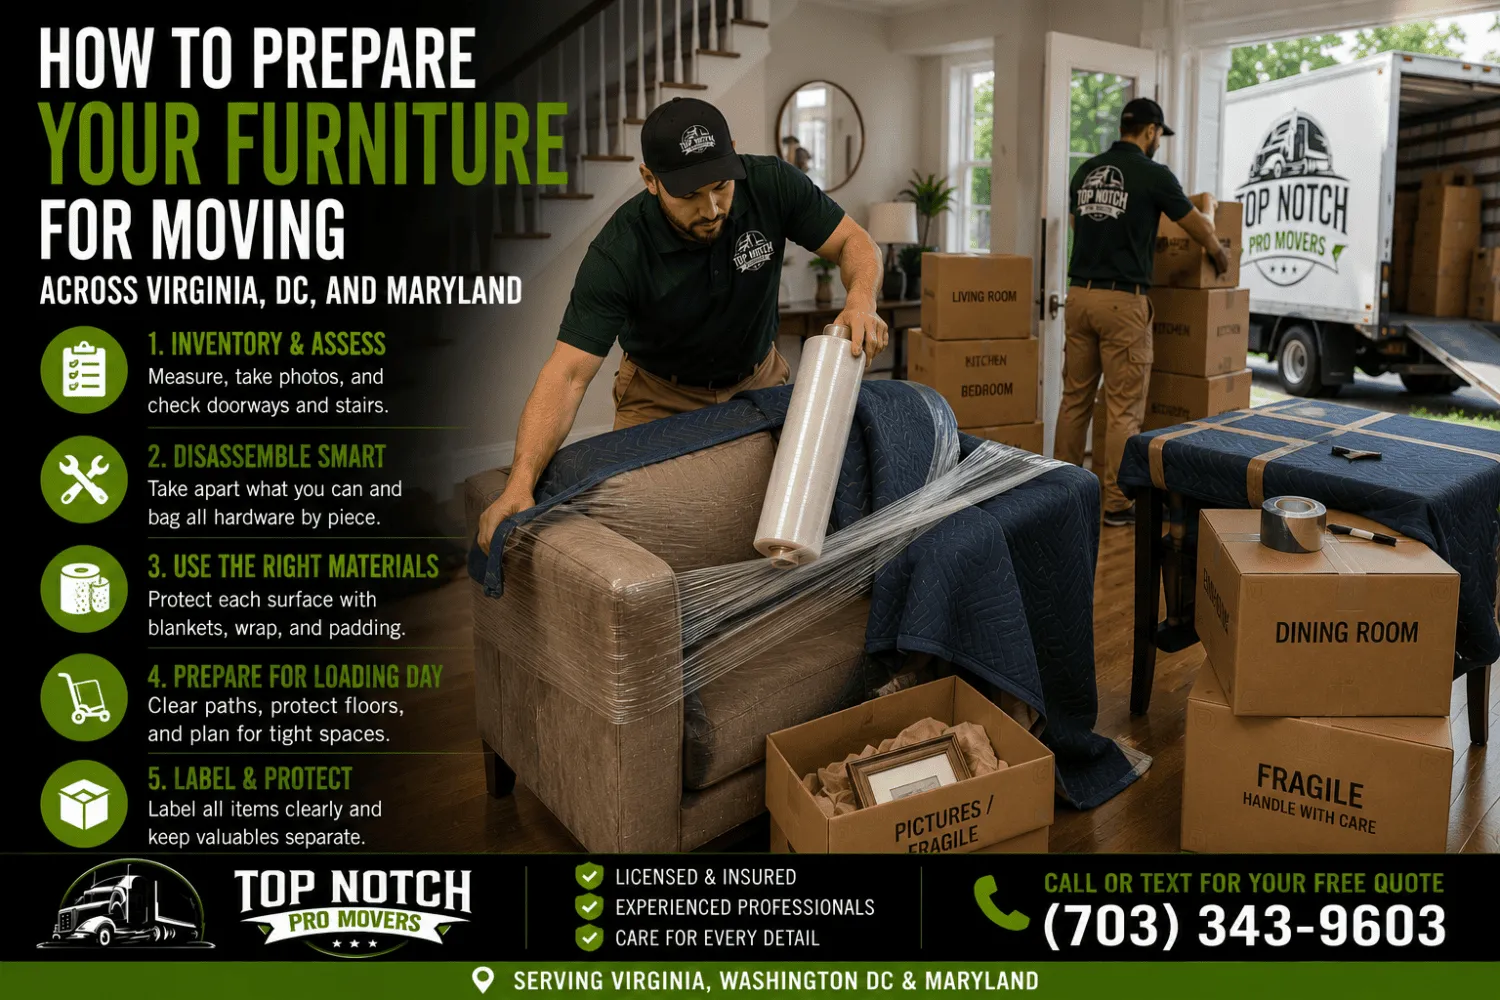
Toasters, blenders, coffee makers, and stand mixers travel best in their original boxes if those were kept, since manufacturers design that packaging around the item’s specific weight and shape. Without the original box, wrap the appliance body separately from any detachable blades, pitchers, or attachments, and tape cords down so they don’t swing loose. For larger kitchen furniture — a butcher block island, a freestanding pantry cabinet, or a heavy dining set moving out with the kitchen boxes — specialists in furniture moving in Virginia typically handle disassembly and padding separately from the boxed items, since furniture and boxed dishware need different handling on the truck.
Step 6: Secure Knives and Sharp Utensils
Wrap each knife blade individually in several layers of paper or cardboard before laying it in a box, and tape the wrapped edge so it can’t work loose in transit. A knife block can travel with the blades still inside if the block itself is padded and taped shut, or knives can be rolled into a dedicated knife roll if the household has one. Either way, label the box clearly on more than one side so it isn’t opened carelessly by hand.
Step 7: Pack Pantry Items With Spill Prevention in Mind
Unopened, sealed items travel well in any sturdy box. Opened items — flour, sugar, cereal, spices — should be sealed in a zip-top bag or transferred to a container with a tight lid before boxing, since a torn bag of flour can ruin every other item in the box. Liquids like oils and sauces should be wrapped individually and packed upright, ideally in their own box separate from dry goods.
DIY Packing vs. Professional Packing Help
| Approach | Best For | Trade-Off |
|---|---|---|
| Full DIY packing | Households with time and packing experience | Time-intensive; breakage risk if materials are wrong |
| Partial professional packing | Fragile-only rooms like the kitchen and china cabinet | Moderate added cost, targeted where it matters most |
| Full-service packing | Time-constrained moves or large households | Highest cost, lowest breakage risk and effort |
Step 8: Label Every Box Clearly
Every kitchen box should list the room, a general contents summary, and whether it’s fragile, along with which side should face up. Numbering boxes and keeping a simple written or photo inventory makes it far easier to confirm nothing is missing once the truck is unloaded, and it helps the crew prioritize which boxes need extra care during placement.
Extra Precautions for Long-Distance Moves
Kitchen boxes headed across state lines spend more time in transit and change hands more often than a local move, which raises the stakes on padding and box quality. Anyone coordinating long distance moving in Virginia should double up on cushioning for the most fragile items and avoid mixing heavy cookware into the same box as glassware, since the extra weight has more time and distance to shift during a multi-day haul.
Packing a Commercial or Catering Kitchen
Restaurant relocations and catering kitchen moves follow the same core principles as a home kitchen but at a much larger scale, with commercial-grade cookware, glassware inventory, and sometimes specialty equipment that needs professional handling. A commercial moving company in Virginia experienced with food-service relocations typically inventories equipment before move day and coordinates disconnecting and reconnecting anything gas- or water-line connected, which is a step homeowners packing a residential kitchen don’t need to think about.
When Kitchen Items Need Temporary Storage
Not every kitchen packs and unpacks on the same day. When there’s a gap between move-out and move-in, or when downsizing means some kitchen items won’t fit the new space right away, storage solutions give households a place to hold boxed dishware and small appliances without unpacking and repacking them a second time. This is especially useful for seasonal kitchen items — holiday serveware, large stockpots, extra small appliances — that don’t need to be the first boxes opened in a new kitchen.
Getting Help on Packing Day
Packing an entire kitchen alone, on top of the rest of the house, is one of the more common reasons moving day runs late. Households that have already packed most rooms but are behind on the kitchen sometimes bring in labor only moving help for a focused packing session, which can turn a half-finished kitchen into a fully boxed one in a few hours rather than stretching it across another full day.
Top Notch Pro Movers sees kitchen boxes come through in every condition imaginable, from perfectly labeled and cushioned to hastily thrown together the morning of the move. The pattern holds up move after move: kitchens packed with the right materials and a little patience arrive with far less breakage than kitchens packed in a rush with whatever box was closest.
Top Notch Pro Movers crews who pack kitchens regularly tend to favor the same short list of habits — wrap items individually rather than in bulk, keep box weight manageable, and never leave empty space inside a box for items to shift into during transit.
Frequently Asked Questions
How many boxes does an average kitchen need?
It varies widely by household size and how much cookware is owned, but a typical kitchen for a family of three or four uses somewhere between 10 and 20 boxes, split between small boxes for dishes and glassware and medium boxes for pots, pans, and small appliances.
Should dishes be wrapped in newspaper or packing paper?
Packing paper is the better choice when it’s available, since newsprint ink can transfer onto dishes and glassware and needs to be washed off before use. Plain packing paper avoids that extra step and is worth the small added cost for anything that touches food.
Is it safe to pack knives in the same box as other kitchen items?
It’s safer to keep sharp items in their own clearly labeled box or wrapped in a dedicated knife roll. Mixing blades in with dishware or utensils increases the risk of an injury when someone reaches into the box during unpacking.
What’s the biggest mistake people make when packing a kitchen?
Packing plates flat in a stack rather than on their edge is one of the most common mistakes, since a flat stack concentrates impact on the center of each plate. The second most common mistake is overpacking a single large box with heavy cookware, which makes the box difficult to lift safely and more likely to fail at the seams.
How far in advance should kitchen packing start?
Starting the kitchen at least two to three days before moving day gives enough time to pack carefully without rushing, especially since most households still need to use some dishes and cookware right up until the move. Packing everything except a small set of essentials early, then boxing the last few items the morning of the move, tends to work well.
Conclusion
A kitchen that’s packed with the right materials and a bit of patience travels far better than one thrown together at the last minute. Sorting first, using the correct box and wrapping for each item type, and labeling clearly all add up to fewer broken dishes and a much easier unpacking day. For households that would rather hand the kitchen off entirely, working with an experienced team such as Top Notch Pro Movers means the most breakage-prone room in the house gets packed by people who do it every day.